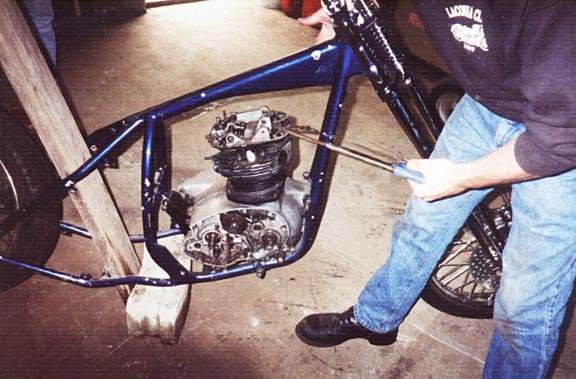
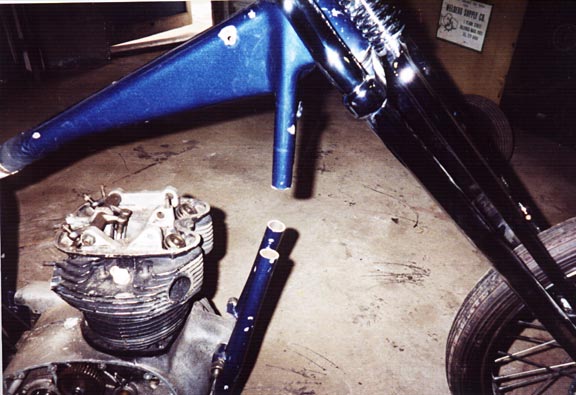
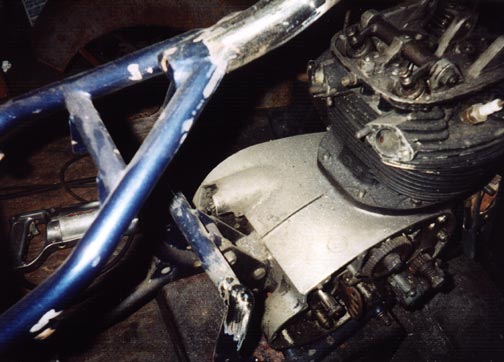
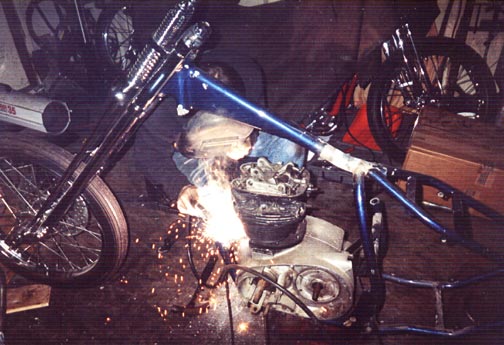
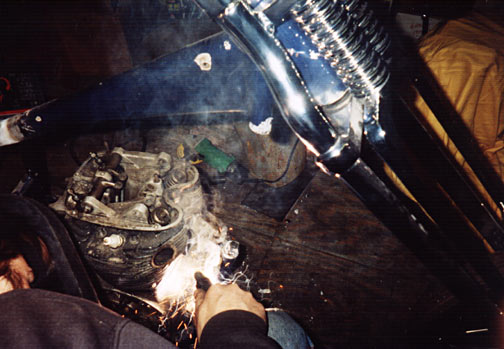
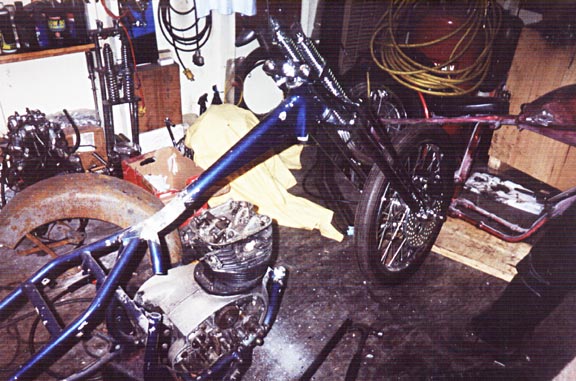
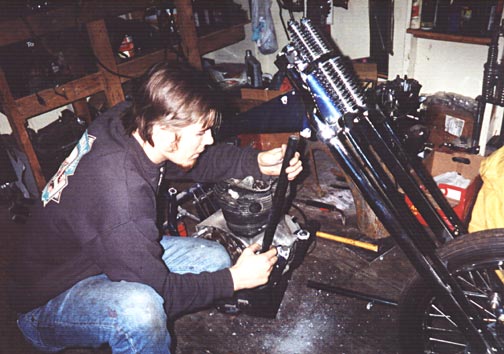
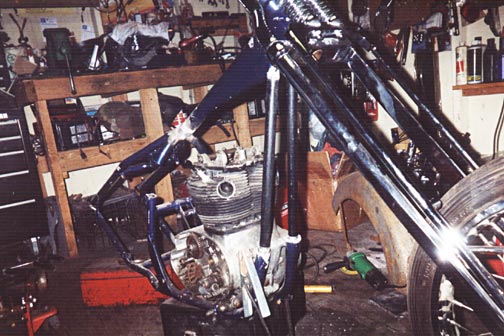
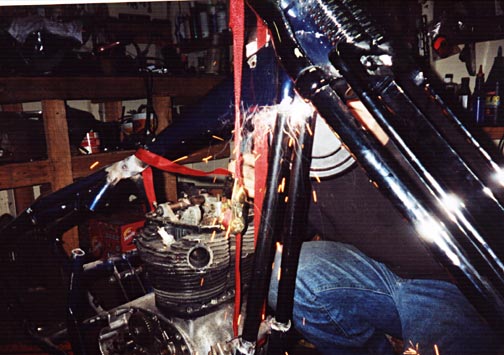
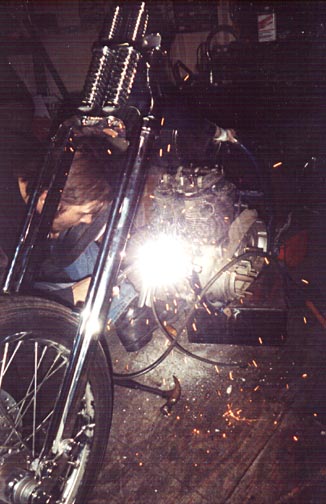
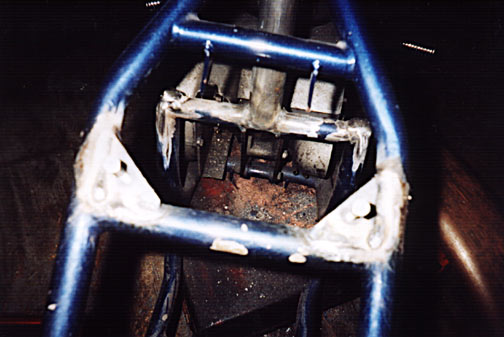
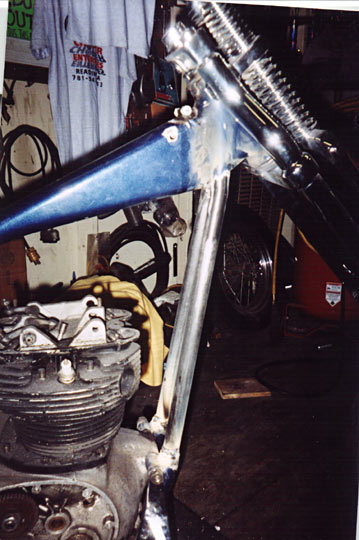
Stretch & Rake it ! 

We have been stretching and raking frames for so long that it is second nature to us.  We thought that we would share with you the steps.  Modifying any frame can cause dangerous riding conditions unless you really know what you are doing.  Give us a a call If you want your frame stretched and raked correctly.

1.jpg (54987 bytes)
Taking the saw to the frame.  Knowing where to cut is the first step.
2.jpg (51193 bytes)
The cut has been made and the weight of the motor starts to separate the downtubes.
3.jpg (49787 bytes)
Heating the backbone allows it to curve and allow the downtubes to stretch.
4.jpg (43625 bytes)
We've added a bit of backbone stretch.
5.jpg (37215 bytes)
Making modifications to the center supports for a custom look.
6.jpg (45138 bytes)
Prepping the lower part of the downtubes for the extensions.
7.jpg (44728 bytes)
Welding plugs into the downtubes really adds to the strength. 
8.jpg (65488 bytes)
Look Mom!  No downtubes or center supports.
9.jpg (44990 bytes)
Fitting the new downtube sections over the plugs.
10.jpg (51402 bytes)
Both downtube sections are in place and ready for welding.
11.jpg (46106 bytes)
The frame is strapped tightly so that nothing moves when welding.
12.jpg (37678 bytes)
Welding the new tube sections.  Attention to detail is critical!
14.jpg (38011 bytes)
We replace the two center supports with a single support in the middle.
15.jpg (60566 bytes)
The new center support looks cool!
13.jpg (53338 bytes)
The stretch job is complete.  Now time for molding and paint.
Any stretch and rake!

Give us a call.


Hit Counter